- Published on
Declare a Front End App on S3 via CloudFront with high-level design
- Authors

- Name
- Hoang Nguyen
1. What?
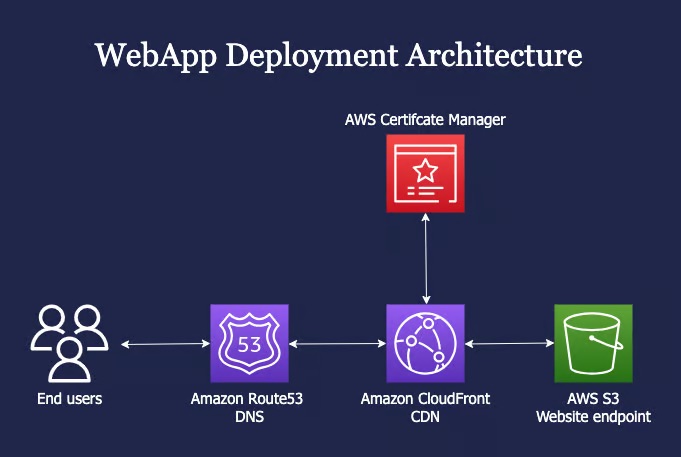
In this post, we will host a static website on an S3 bucket with Route53, CloudFront and AWS Certificate Manager. The Website need to ensure high security with these Acceptance Criteria:
- S3 bucket must be not public.
- End user can not access the Amazon CloudFront and AWS S3
- End user can only access the WebApp via the Domain
The CDN which has the permission to view the S3 bucket privately with the help of bucket policy.
2. Why?
At the beginning, I want to have a WebApp for my kid that is called FingerMath App. This will be a simple React App on Front End. You can find out what is the FingerMath methodology at the end of this post.
Also, I want to have a solution that will be cost-effective and scalable with high performance. For this reason, I choose the combination of S3, CloudFront on AWS. With this architecture, end user can access the the WebApp via the CDN which has the permission to view the S3 bucket privately with the help of bucket policy.

3. Why do we need S3 and CloudFront?
In summary, combining AWS S3 and CloudFront provides a scalable, highly available, and cost-effective solution for storing and delivering static websites globally with improved performance and security.
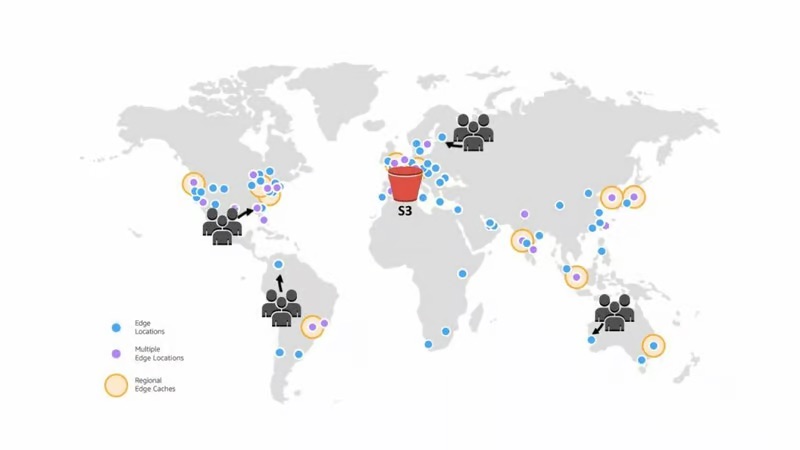
- Scalability and High Availability: S3 provides highly scalable and durable storage for static website assets, ensuring that the website can handle high traffic and remain available even during peak usage. CloudFront, as a globally distributed CDN, further enhances scalability by caching and delivering content from edge locations close to the user, reducing latency and improving performance.
- Cost-Effectiveness: S3 and CloudFront offer cost-effective solutions for hosting and delivering static websites. S3 provides affordable storage options, while CloudFront's pay-as-you-go pricing model helps optimize costs by minimizing data transfer and reducing bandwidth costs.
- Global Content Delivery: CloudFront caches website content in edge locations worldwide, ensuring that users can access the website quickly regardless of their geographical location. This improves the website's performance and user experience by reducing latency and improving load times.
- Security and Access Control: S3 provides robust security features. CloudFront supports SSL/TLS encryption and provides options for securing content delivery.
- Easy Management and Deployment: AWS provides user-friendly tools and APIs for managing S3 buckets and CloudFront distributions.
4. How to do?
Overall, we will complete the task in four steps:
- Create and update S3 bucket
- Request certificate with AWS Certificate Manager
- Setup CDN with CloudFront
- Create an alias DNS record on Route53
4.1. Create and update S3 bucket
Create S3 bucket
Login into your AWS account, on the top center of the AWS console, jump to the search bar at the top and search for S3.
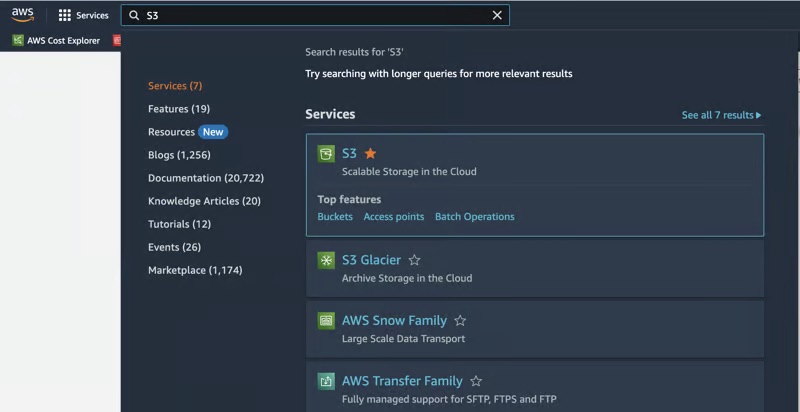
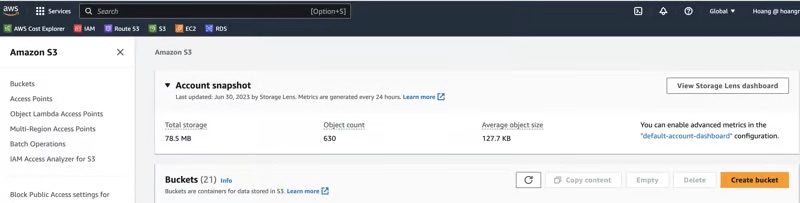
Inside the S3 dashboard, click on Create bucket.
In bucket name, please fill out the bucket name we want to create (e.g. finger-math-app-bucket-v2). Also, please confirm these options:
- ACLs disabled (recommended)
- Block all public access
- All other options just like default
Set up S3 for static website hosting
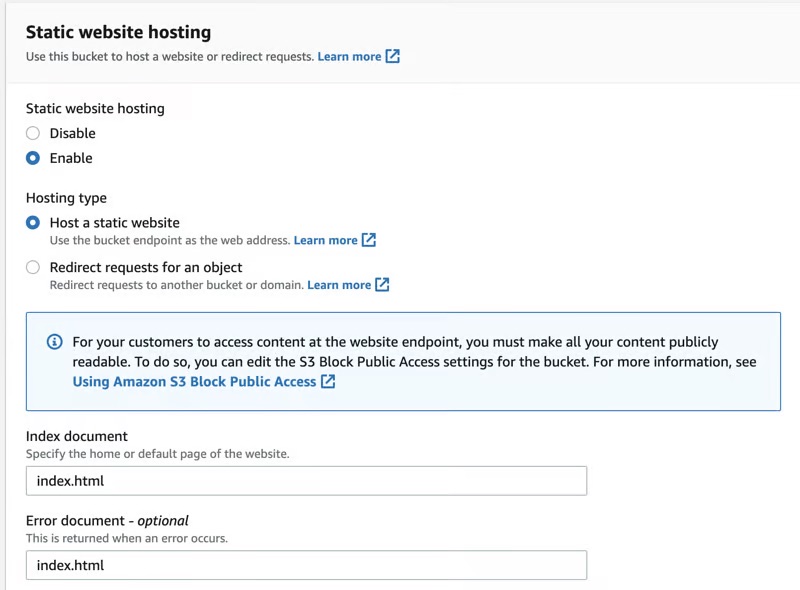
After creating the bucket successfully, open this bucket and switch to Properties Tab and search the Static website hosting section, click on Edit button

The default option be Disable, change it to Enable. Also, Fill out the index document and Error document with index.html
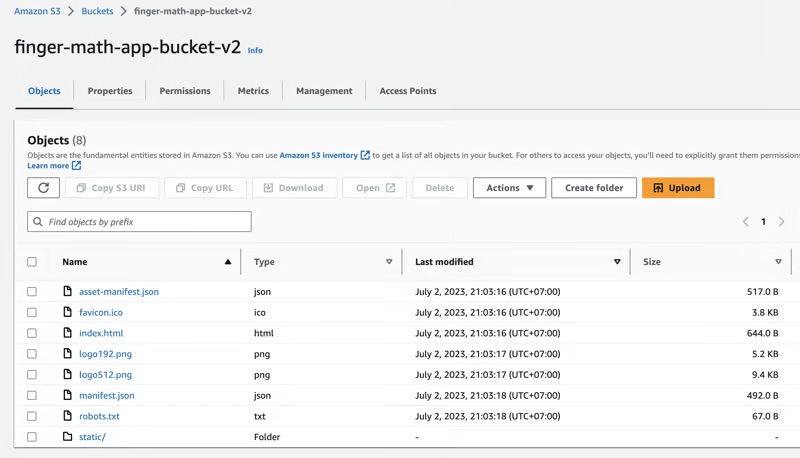
Upload build files to S3 bucket
Use some tools to upload the build folder such as: AWS Console, AWS CLI, Jenkins, Github Actions, Bitbucket pipelines, …
4.2. Request certificate with AWS Certificate Manager
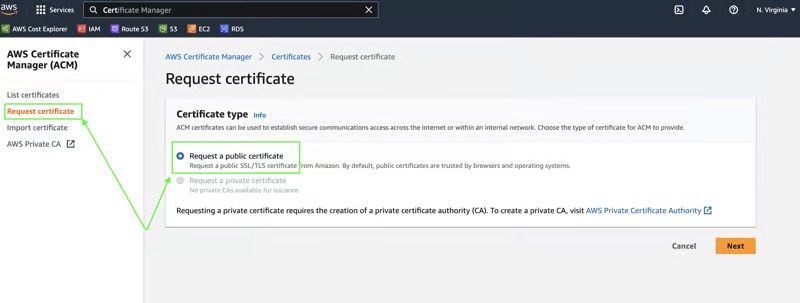
On the top center of the AWS console, jump to the search bar at the top and search for Certificate Manager and click on this service. When the AWS Certificate Manager is opened, click on Request certificate and then choose the Option Request a public certificate to obtain new SSL certificate.
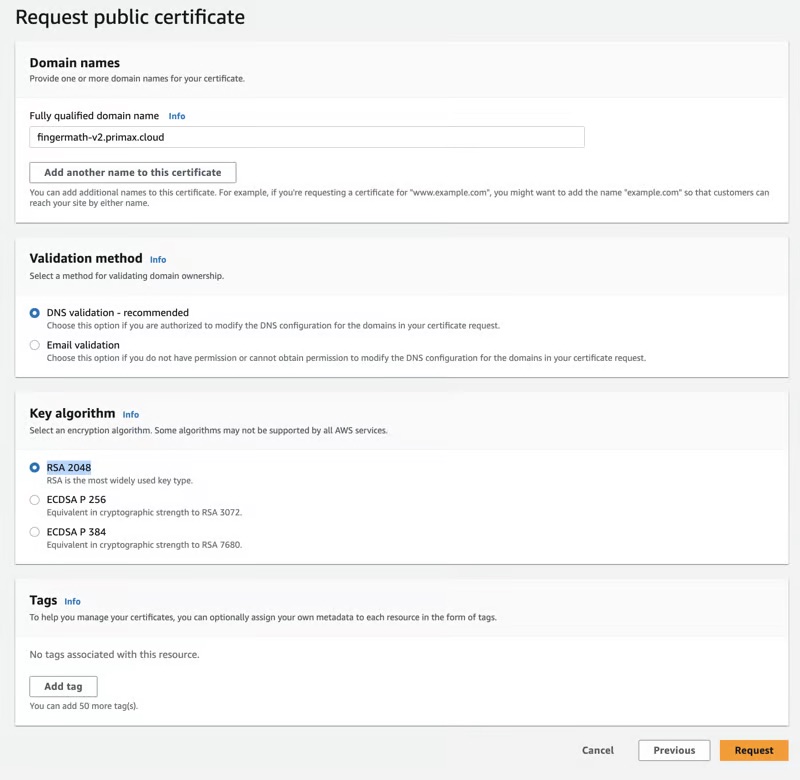
On the next step, fill out the information as below and then click Request:
- Domain names, e.g fingermath-v2.primax.cloud
- Validation method, e.g. DNS validation - recommended
- Key algorithm, e.g RSA 2048
After the certificate is requested successfully, we need to create DNS records in Amazon Route 53 for validation by clicking on the created certificate.

On next step, at the section Domains, click on button Create Records in Route 53

On next step, click on Create records

After a few minutes, the Status will change from Pending Validation to Issued

4.3. Setup CDN with CloudFront
On the top center of the AWS console, jump to the search bar at the top and search for CloudFront and click on this service. When the CloudFront is opened, click on Distributions and then choose Create distribution.
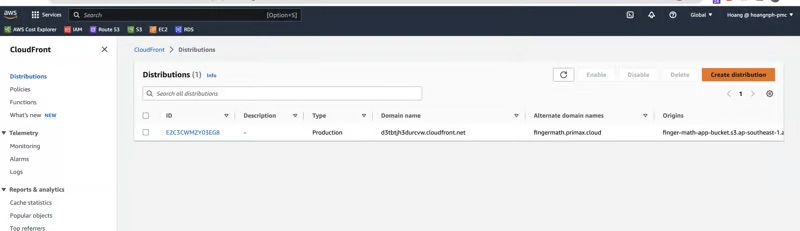
On the next step, make sure that:
- The S3 bucket that we have created before as Origin Domain, e.g. finger-math-app-bucket-v2.s3.ap-southeast-1.amazonaws.com
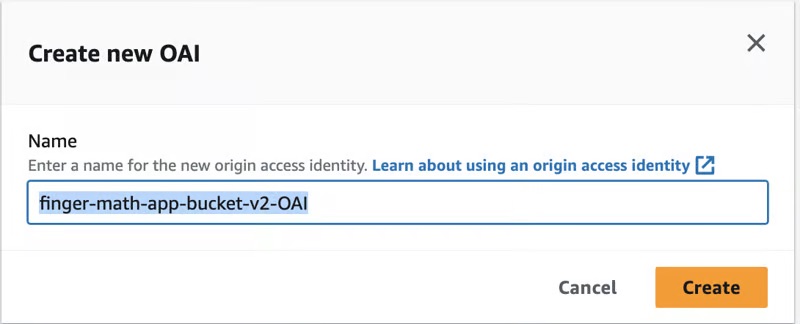
- Legacy access identities as Origin access: We need to create the OAI (Origin access identity) for this by clicking on Button Create new OAI. Choose a specific name, for example: finger-math-app-bucket-v2-OAI and then click Create. Please note that the bucket policy will need to select Option Yes, update the bucket policy.
- Redirect HTTP to HTTPS as Viewer protocol policy
- GET, HEAD, OPTIONS as Allowed HTTP methods
- Do not enable security protections as Web Application Firewall (WAF)
- A domain name created on Step 2.1 as Alternate domain name (CNAME) (e.g.: fingermath-v2.primax.cloud)
- HTTP/2, HTTP/3 as Supported HTTP versions
- The certificate that we have requested on Step before as Custom SSL certificate
- index.html as Default root object
- All other options just like default
After we click on Create distribution, AWS will deploy in several minutes (~ 10 mins). After deploying successfully, the Last modified will change from Deploying to a specific datetime (e.g. July 1, 2023 at 9:37:42 AM UTC)
4.4. Create an alias DNS record on Route53
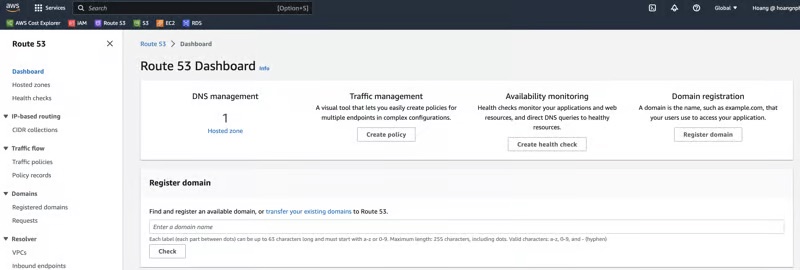
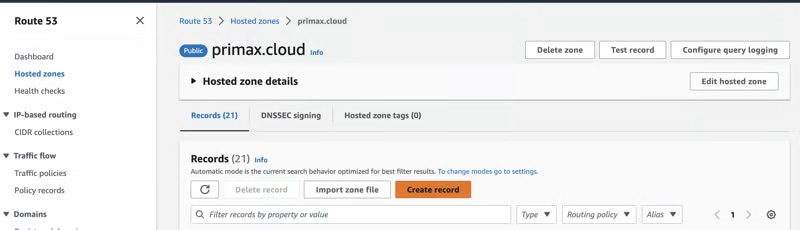
On the top center of the AWS console, jump to the search bar at the top and search for Route53 and click on this service. When the Route53 is opened, click on your Hosted zone (e.g. primax.cloud) and then click on your Domain name
On the next Step, you will see a list of records of your Domain Name. Click on Create record
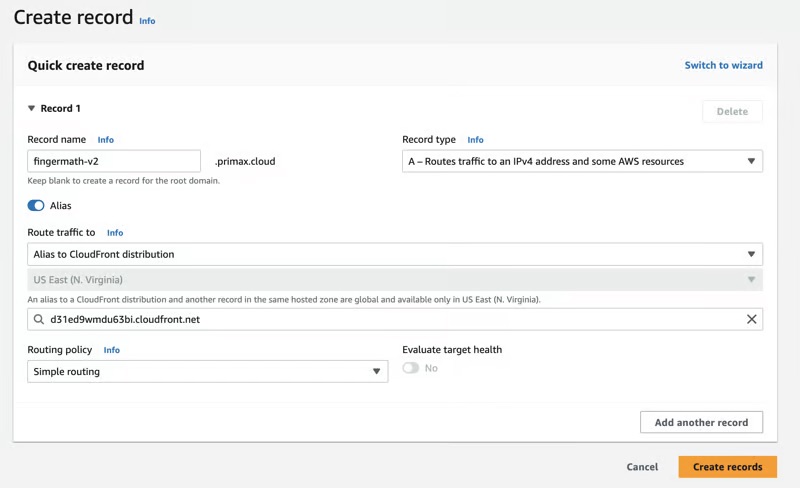
On the next Step, make sure to choose:
- Your preferred subdomain as Record name (e.g. fingermath-v2)
- Turn on the Alias radio button
- Alias to CloudFront Distribution as Route traffic to
- Choose the Cloud Front that you have created before
- All other options just like default
And voila, your website is going online in few minutes (~5 mins)
Reference: What is FingerMath?
I have created a React App that will teach the Kids how to calculate with Finger Math methodology on this website. So, please be free to use this.
Finger Math is a mathematical technique that uses fingers as a visual aid for performing calculations. It is commonly used as a tool to teach basic arithmetic concepts, particularly addition and subtraction, to young children.
Finger Math helps children develop number sense, improve their counting skills, and gain a conceptual understanding of basic arithmetic operations. It engages their tactile and visual senses, making math more tangible and accessible. It is often used as a foundational learning tool before children progress to mental math strategies.